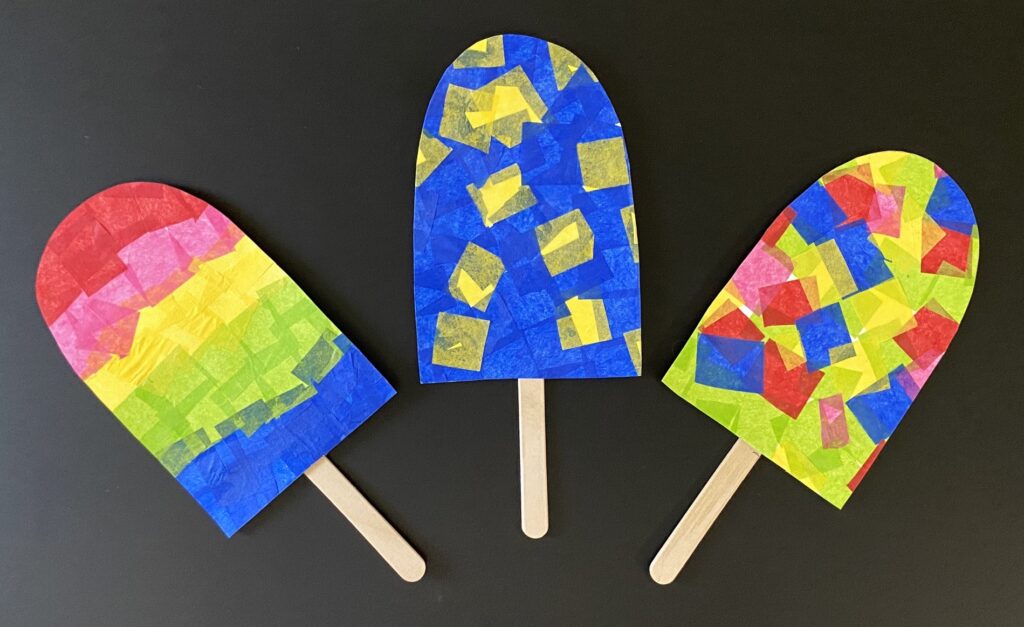
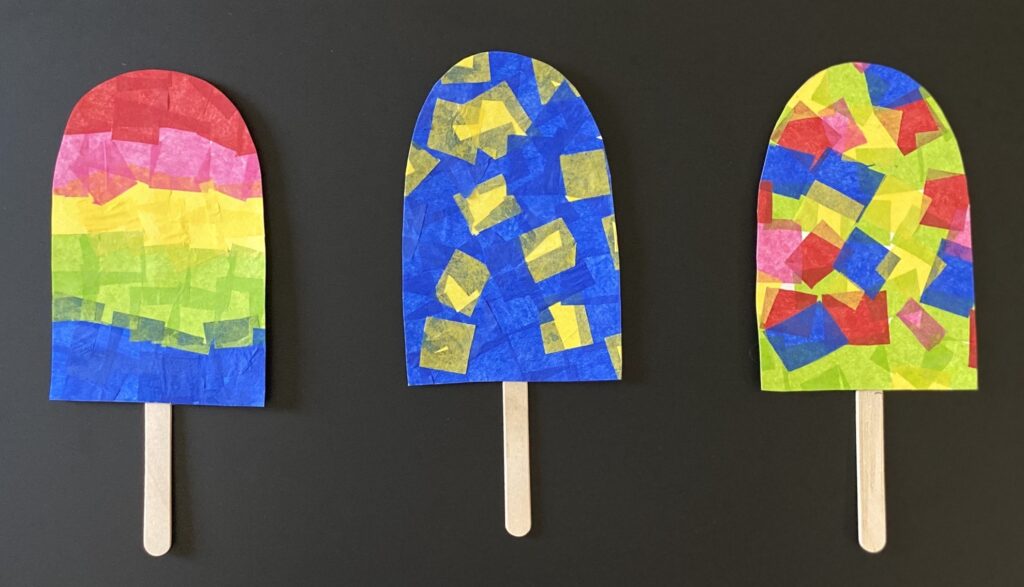
One of the first things that kids think about as soon as the weather warms up is a popsicle! So today we made this Paper Mosaic Popsicle craft. Not only these turned out looking fabulous, kiddo also had fun making them. He loved cutting paper and this activity worked his fine motor skills not only in cutting paper but also in making paper mosaic.
Things you need
Card stock
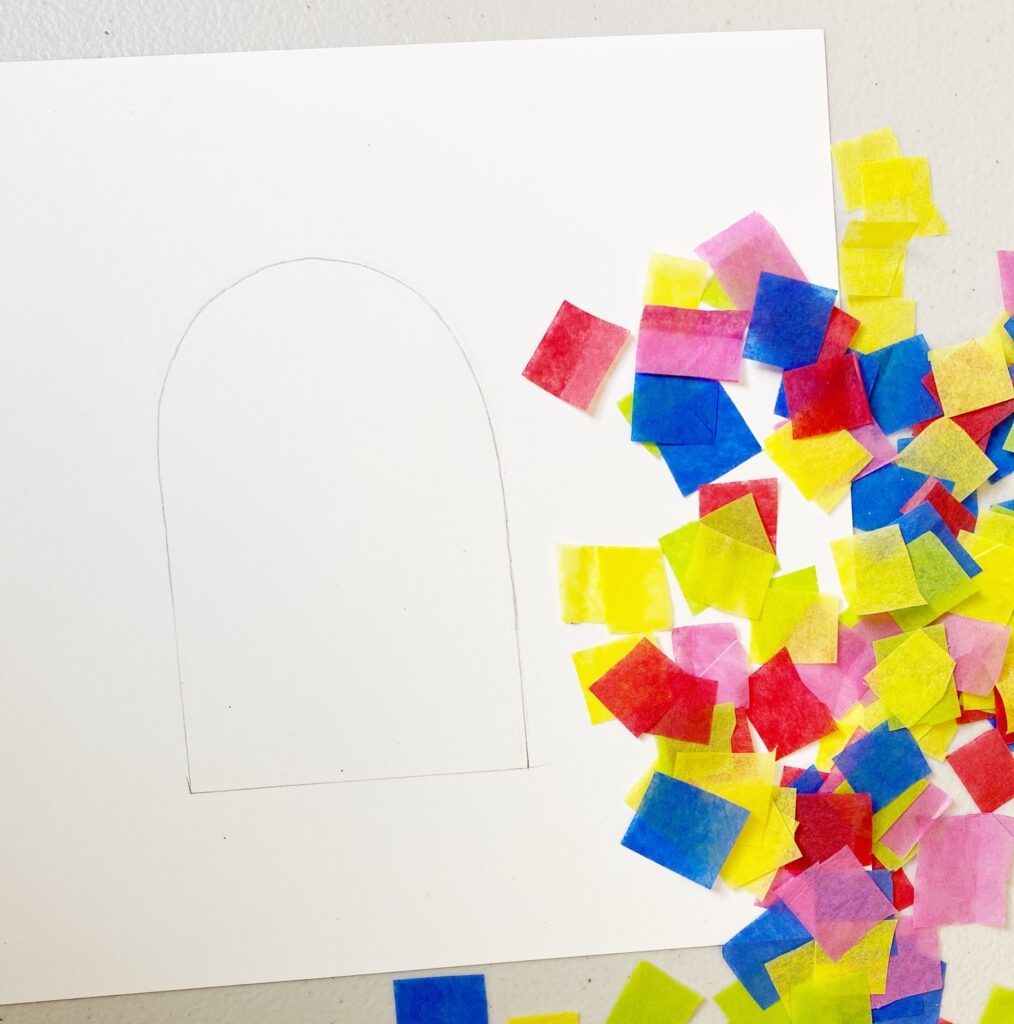
Tissue paper cut into small pieces
Glue
Paintbrush
Popsicle stick
We used tissue paper of different colors. Anay also wanted to make a blueberry popsicle so we made one with bit more of blue paper.
Method
Cut the tissue paper into squares.
Draw a popsicle shape onto card stock.
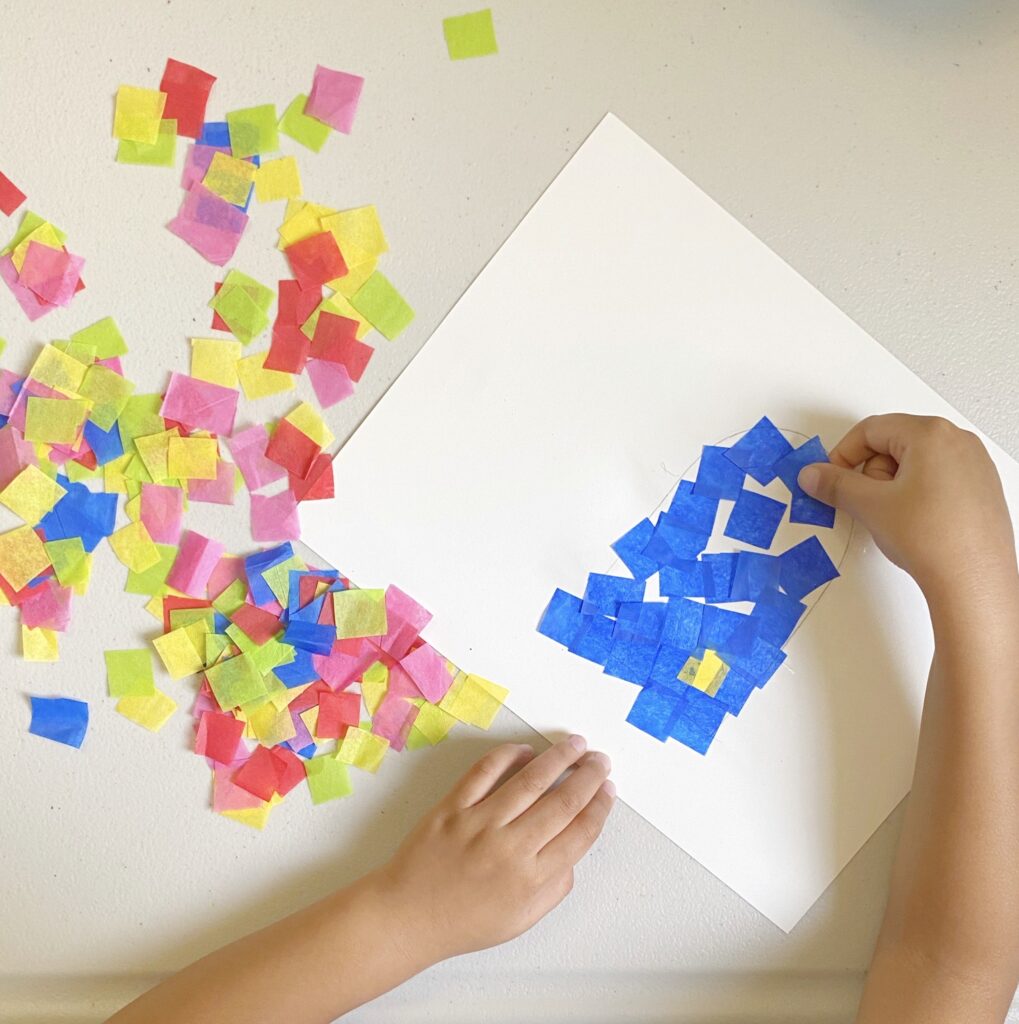
Paint some glue onto the popsicle shape.
If the glue is too thick to paint on, add a bit of water to make it runny.
Start putting tissue paper squares one the popsicle shape one at a time, overlapping them however you like.
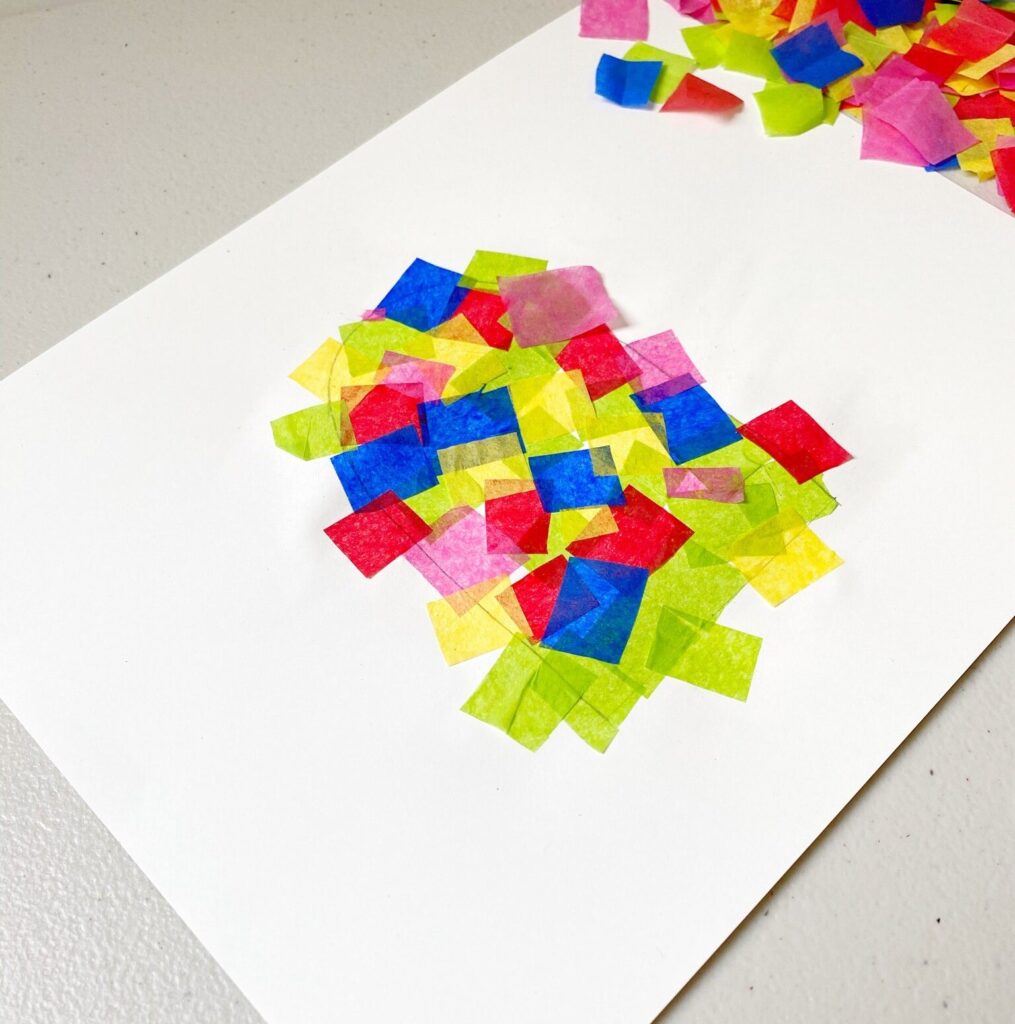
Continue until the whole popsicle shape is covered.
After covering the popsicle with the squares, paint some glue over the top of the squares to make them stick down.
Let it dry completely.
When it is dry, cut out the popsicle shape.
Glue a popsicle stick to the back. And thats it, Enjoy!
You can make your favorite flavor popsicle like strawberry, blueberry or whichever flavor you like by choosing the corresponding color of paper. You can decorate your room with these or you can attach magnets to the back to brighten up your fridge. These are also good for brightening up your cubicle at work.